Character Customization System for 2D Games with Unity and C#
Build a System for Creating Fully-Customizable 2D Characters in your Unity Game
Watch Promo
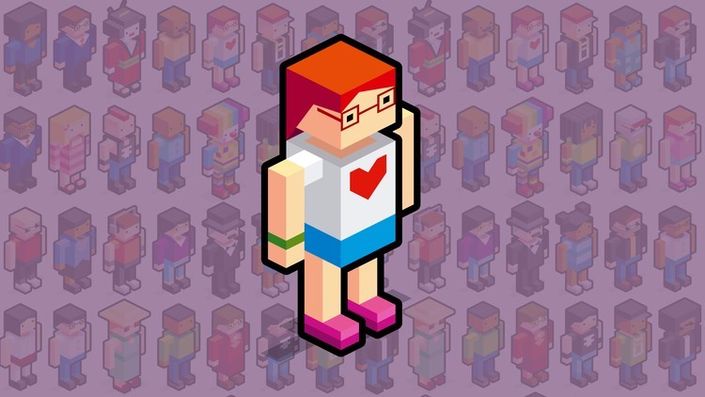
In this course, you will learn how to make a complete system to create and manage customizable characters in your Unity game.
- Let your players create
custom-built characters, either manually controlling all the body
parts of their characters or making their characters completely
random.
- Learn how to save and load your characters using save slots.
- Create an advanced saving system with character avatars displayed on
each save slot.
The material in this course is divided into 4 Sections.
Section 1 includes just a short overview of the project that we will be making in this course.
By the end of Section 2, we will create all the visual elements that your players will see on their screens. First, we will create a template default character that we will later customize. We will use Unity built-in UI to create the user interface. You will learn techniques of rapid prototyping that will help you build user interfaces faster. We will create a custom UI element that will be used to control the look of each body part of your character.
In Section 3, we will write the scripts to connect the UI that your players will interact with to the customizable character. By the end of Section 3, we will be able to edit the look of our character and generate new characters randomly. We will also discuss transitions to other scenes. The goal is to start playing in every scene with the character that your players select.
In Section 4, we will be working on the Save/Load system for characters. By the end of Section 4, all the save slots will work and it will be possible to save your favorite characters for later. We will add a super-cool feature of snapping avatars of your characters and using these avatars on the save slots to provide more information to your players. In this section, we will also try to use other UI elements to select body parts on your characters. As an example, I will use the built-in Unity Slider to pick bodies for our characters.
By the end of this course, we will have a fully functional character customization system that you can use in your game.
The scripting language used in this course is C#.
I have tried to save the project that I was working in as often as I can so that you can easily pick up the material from any point in this course. All these projects and the assets used to develop our example application will be available for download with this course.
What are the requirements?
- You can be an absolute beginner with Unity to take this course. This course is very beginner-friendly and I try to explain everything that I am doing as much as I can.
- It would certainly be easier to follow the material in this course if you have some previous experience with C#, but it is not strictly necessary. I do not use any advanced features of C# language in this course.
- You should install Unity3d to develop the application that we are making in this course. Any version after Unity 5 will do.
What am I going to get from this course?
- Include customizable 2D characters to your games.
- Create a Random͟ or Generate͟ button that will completely randomize the look of your characters.
- Use different UI elements to select different body parts or clothing for your character (in this course we will use one custom-built UI element and a default Unity Slider)
- You will learn a lot about saving information between scenes and between game launches.
- Learn to save images (for example, screenshots from your game) and use them later on the save slots or in any other location in your game.
- You will learn how to build and prototype Unity UI faster.
- You will learn some tips and tricks to create complex 2D characters that can be later animated using so-called ͞bone-based͟ or ͟skeleton͟ animations.
- Improve your C# scripting skills by viewing simple and easy to understand examples from this course.
- You will get a fully functional Unity project of the application created in this tutorial.
What is the target audience?
- Students who want to add customizable 2D characters to their games
- Students who want to learn about saving characters, making transitions between scenes and working with Unity UI.
- The techniques taught in this course can be used to build similar character customization and save systems for any other 2D game, targeting mobile or PC.
Your Instructor

We seek to inform and inspire independent creators with knowledge that goes beyond just technical skills.
Turn your creativity into a business by learning legal, project management, HR, and finance in a practical way that you can use to improve your small creative shop or freelancing career.
For every course we partner with one or more experts in their field. Each course undergoes a rigorous planning to ensure you get the best value.
Course Curriculum
-
PreviewIntroduction to Section 3 (8:43)
-
StartManaging All the Body Parts Separately – Part 1 (8:08)
-
StartManaging All the Body Parts Separately – Part 2 (5:41)
-
StartControlling the Selectors (6:33)
-
StartEstablishing All the Connections and Testing (9:56)
-
StartCreating a Character Manager (9:32)
-
StartSaving the Modified Character between Game Launches (9:55)
-
StartRandom Character Generation (7:49)
-
StartTransitions between Scenes (6:48)
-
StartCreating Two New Scenes and Testing (8:19)
-
StartChanging Player Position (5:44)

